DIY Faux Acrylic Photo Frames
Lucite (or generically known as acrylic) is a gorgeous, gimmicky medium used for many items in home décor today – from coffee tables to cribs to utensils. The articulate plastic-y textile is visually lightweight, making its presence inherently understated but also chichi. Lucite pieces can exist expensive, however, so if y'all like the look just don't take the cash to put toward Lucite, this is a wonderful DIY idea for you! Photograph, or fine art, double frames with contumely fasteners mimic the luxe wait without breaking the banking concern.
 View in gallery
  View in gallery
 This projection isn't hard, per se, but it does take some patience and the proper technique.
 View in gallery
 DIY Level: Intermediate
 View in gallery
 Materials Needed:
- Photo or slice of art to exist framed
- 2 (2) pieces of acrylic sheeting cut to size 4" larger than the photo to be framed
- Eight (8) #10 1/2″ circular slotted brass machine screws
- Eight (viii) #10 brass hex basics
- Photo hanging wire or heavy duty fishing line
- Square ruler, clamps, pliers, large nail, candle, drill (not shown)
 View in gallery
 Projection Prep: Decide on the photo or piece of art you lot want to frame, then measure it. (Tip: This tutorial shows 2 24" square photos printed out as engineer prints at Staples. At nearly $four apiece, this is a fabulously inexpensive way to customize your piece.)
 View in gallery
 At your local hardware shop, in the plastic sheeting section, you'll detect various sizes of plastic sheeting. Choose the piece(due south) that nearly closely matches 4" larger than the photograph yous're framing, and then have them cut to size. (For case, the photos used here are 24" foursquare, then the plastic sheeting I chose to take cut was 28"x30", I call up.) You'll desire two identical pieces per photo frame.
 View in gallery
 Start by measuring and mark 1-ane/2" in from each corner on 1 of the acrylic sheets. Make these marks on the removable protective plastic covers on your acrylic sheets.
 View in gallery
 As well mark 1-1/2" in at the halfway point on each side.
 View in gallery
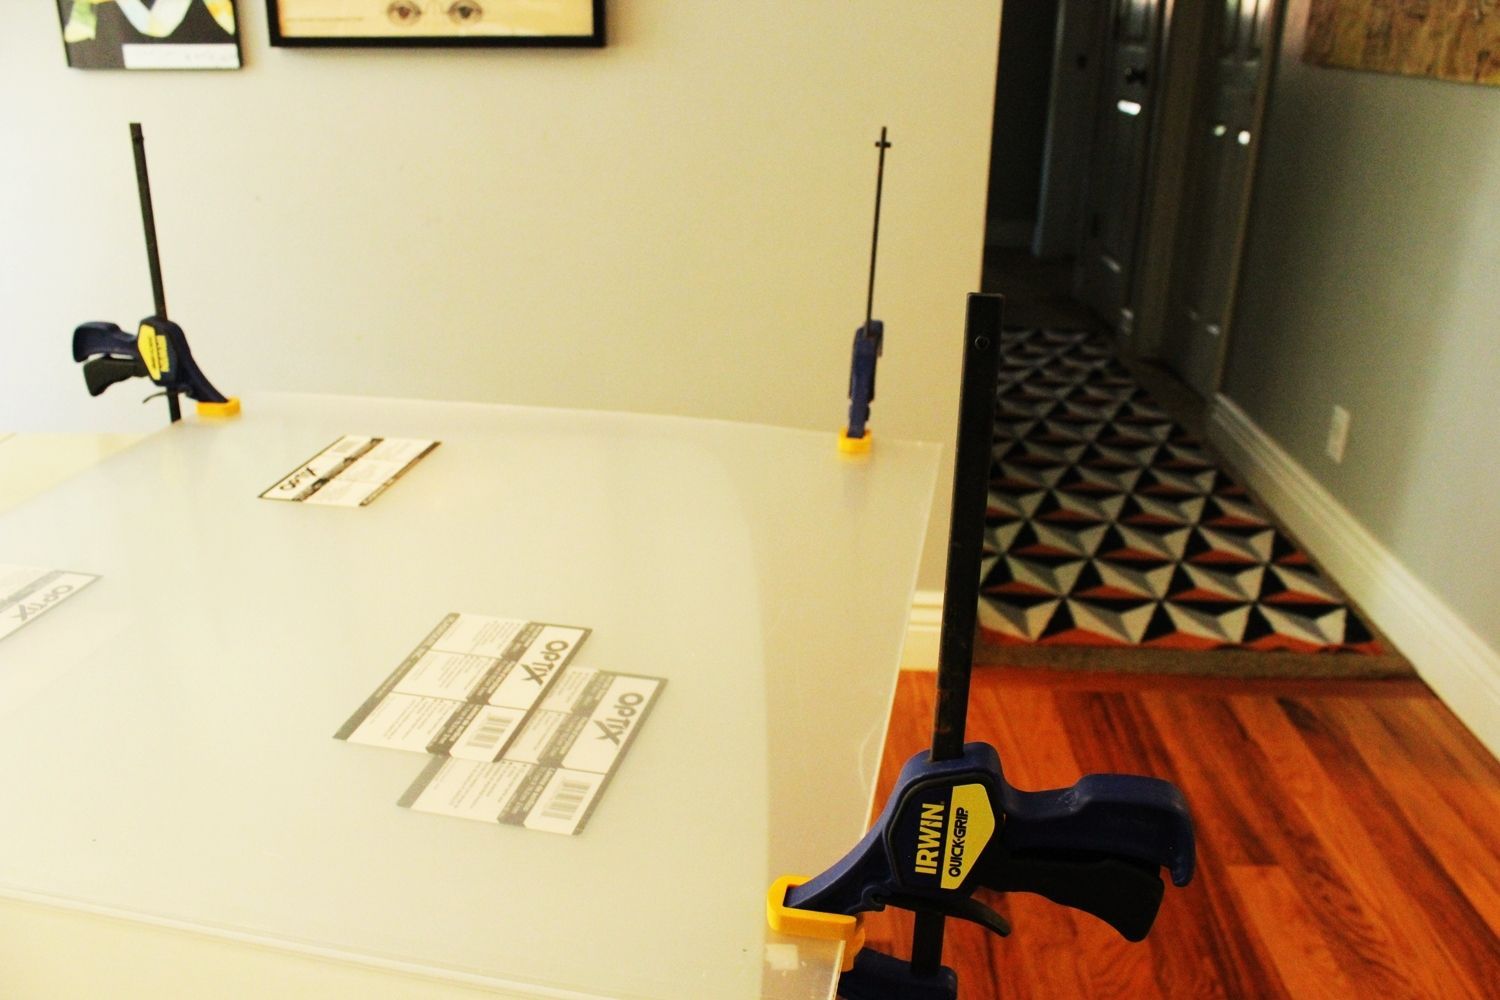
 Advisedly stack up your acrylic sheets, being precise in lining up the corners. (Tip: 4 sheets are shown here; do not stack more than than iv.) Continue the marked acrylic sheet on top.
 View in gallery
 Taking intendance that the corners are lined upward exactly, clamp the corner near the first mark.
 View in gallery
 Aligning corners as you go and adjusting as necessary, clench the rest of the corners. Tip: Clamp diagonal corners get-go and second, so the other two diagonal corners 3rd and last. This helps to continue the acrylic sheets from any shifting.
 View in gallery
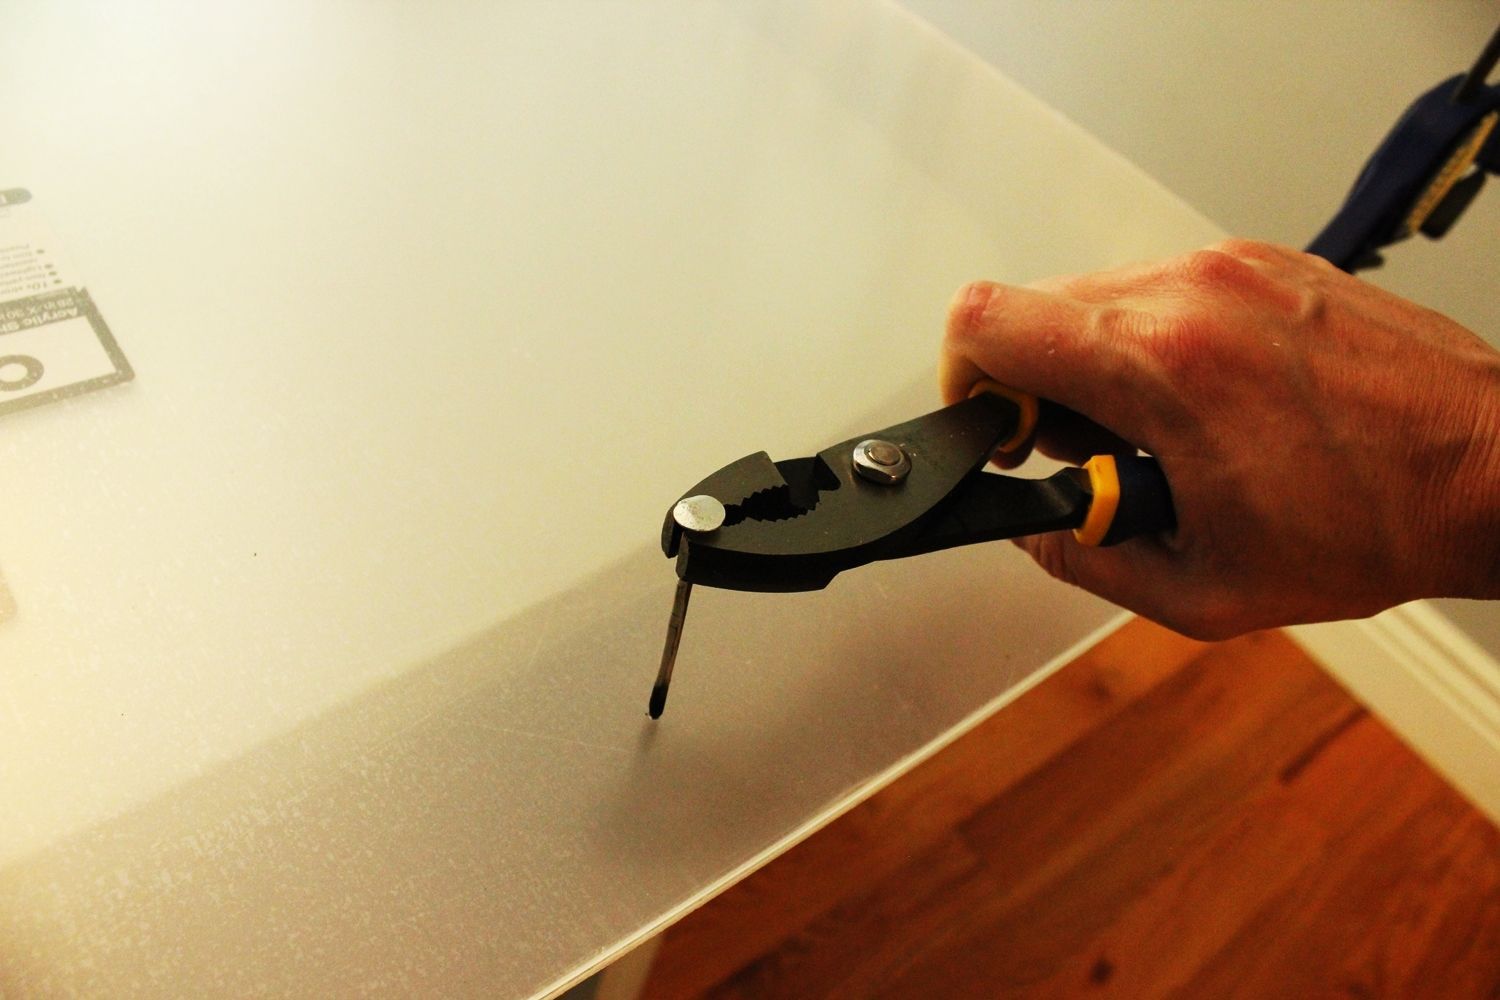
 Several tutorials recommend melting holes in the acrylic sheets for your contumely fasteners; others recommend drilling. I have done both, and I recommend a combination of the ii – cook a little, then drill. To do this, tightly grasp a large smash with pliers and concord it over a heat source, such as a candle flame. Let the tip become hot.
 View in gallery
 Quickly yet very carefully, push button the hot nail tip into the clamped acrylic sheets at a point you've marked. Push down equally far as you desire, merely don't worry about going all the fashion through. The idea here is to give your drill a expert starting point to drill through the other layers.
 View in gallery
 Using a drill scrap that is the size of your brass screws (or ever and then slightly larger), slowly begin drilling at the melting point in the acrylic canvas. (The melting signal helps the drill bit stay in place on the smoothen acrylic surface.) You want to employ attempt but non force, considering the acrylic sheets volition crack if you effort to go likewise hard and too fast. Repeat this melt-and-drill technique for all eight holes. Be conscientious with the drilling so at that place are no cracks!
 View in gallery
 Pull one side of protective plastic off one acrylic sheet. This uncovered surface will be inside your frame. Leave the protective plastic on the other side of this sheet for now.
 View in gallery
 Using needlenose pliers, gently make clean up the holes of any melted or stuck acrylic bits.
 View in gallery
 Wipe off all acrylic shards from your sheet. Remember, this surface volition be sandwiched, so yous won't exist able to get to information technology later.
 View in gallery
 Center your photograph on the acrylic sail.
 View in gallery
 Take intendance to proceed your hands and the acrylic sheet surface clean and dry as y'all're doing this.
 View in gallery
 Now pull off both sides of the protective plastic on the 2d acrylic sheet. Remove shards with your needlenose pliers and wipe the inside surface with a make clean, dry cloth. Marshal the holes of this acrylic sail with your offset i, and lay it on top, being conscientious not to shift your now-sandwiched photograph.
 View in gallery
 Take a brass screw and push button or spiral it into the first pigsty.
 View in gallery
 Screw the nut onto the spiral, securing the ii acrylic sheets together.
 View in gallery
 Y'all'll want to tighten the nut to fit snugly (apply a screwdriver and pliers) only DO Non OVERTIGHTEN. Besides much pressure level may cause your acrylic sheet(s) to crack. Do this for all eight of the holes, but don't tighten the two side holes. These will be for your hanging wire/line.
 View in gallery
 I chose to use fishing line due to its transparency; a small amount of your hanging line will be seen on either side of your photo. To starting time, necktie a 1" loop at the end of your fishing line. Hook this onto one of the side screws, between the nut and the back acrylic sheet.
 View in gallery
 Wrap the angling line back and along betwixt the two side screws nigh x times. You'll desire to keep the line taut only don't pull it too tight, or your frame will bow and bend when y'all go to hang it.
 View in gallery
 Subsequently the tenth (or so) pass, tie another loop in the end of your fishing line and claw information technology onto the screw under the nut.
 View in gallery
 Advisedly tighten the two side nuts now, if yous need to. This should cinch down and secure your fishing line.
 View in gallery
 Congratulations! You're ready to hang!
 View in gallery
 Don't you just honey the crisp, contemporary feel of a 2-planed frame? The floating result is so on point.
 View in gallery
 And the small brass details really give information technology a modern vibe.
 View in gallery
 We hope you enjoy making your own DIY faux acylic photograph frames! Such a professional-looking manner to frame large art or photos, and it adds and so much personality to a space.
 View in gallery
  View in gallery
 Source: https://www.homedit.com/acrylic-photo-frames/
0 Response to "DIY Faux Acrylic Photo Frames"
Post a Comment